Grid-Tied Solar Power System
In 2012, I installed a 2.5kW grid-tied solar power system at our house. The system consists of ten 250 watt photovoltaic (PV) panels: eight panels on our pergola and two over the pool equipment to shade and protect it. The system creates 240 volt split-phase AC power through ten Enphase M215 microinverters: one connected to each PV panel. Also see the Power System Status for this system's current power generation and status.
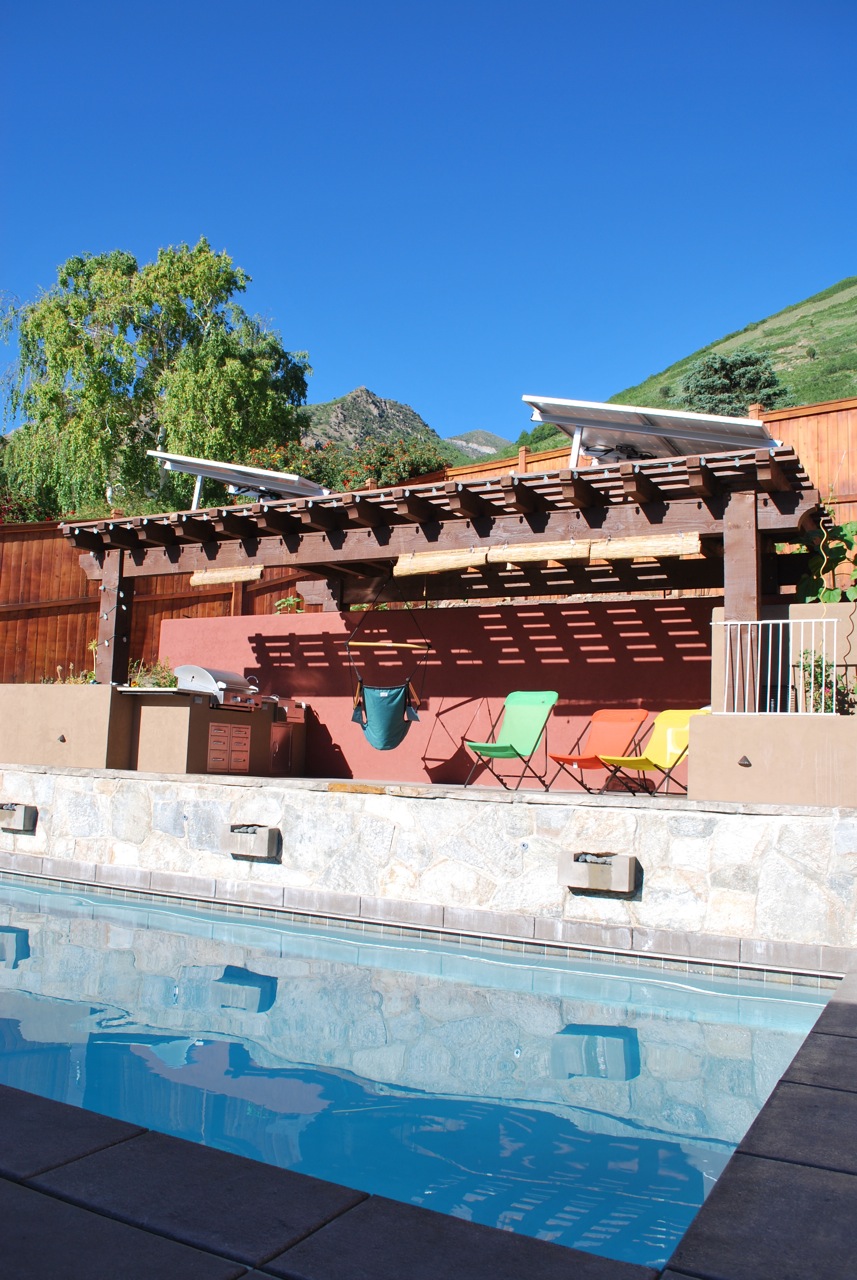
Eight PV Panels on the Pergola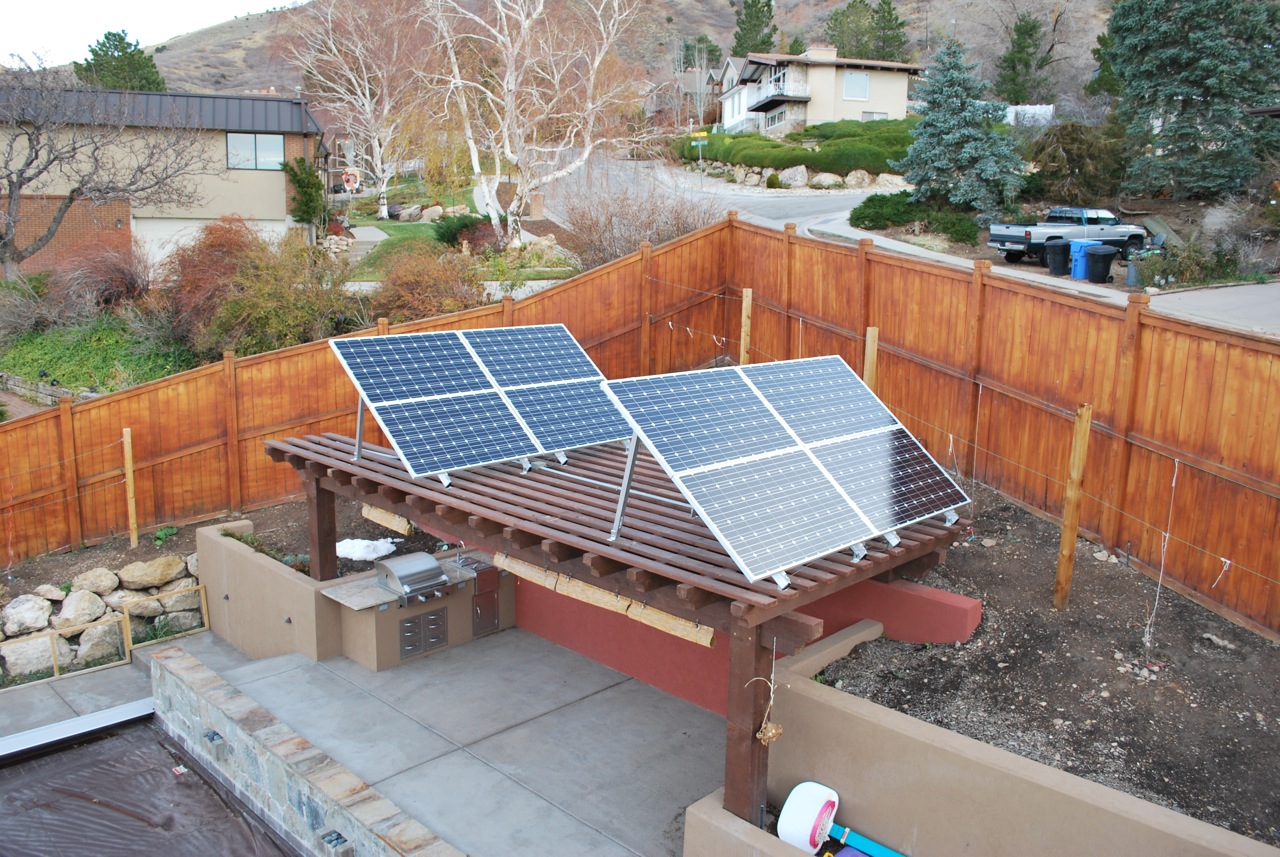
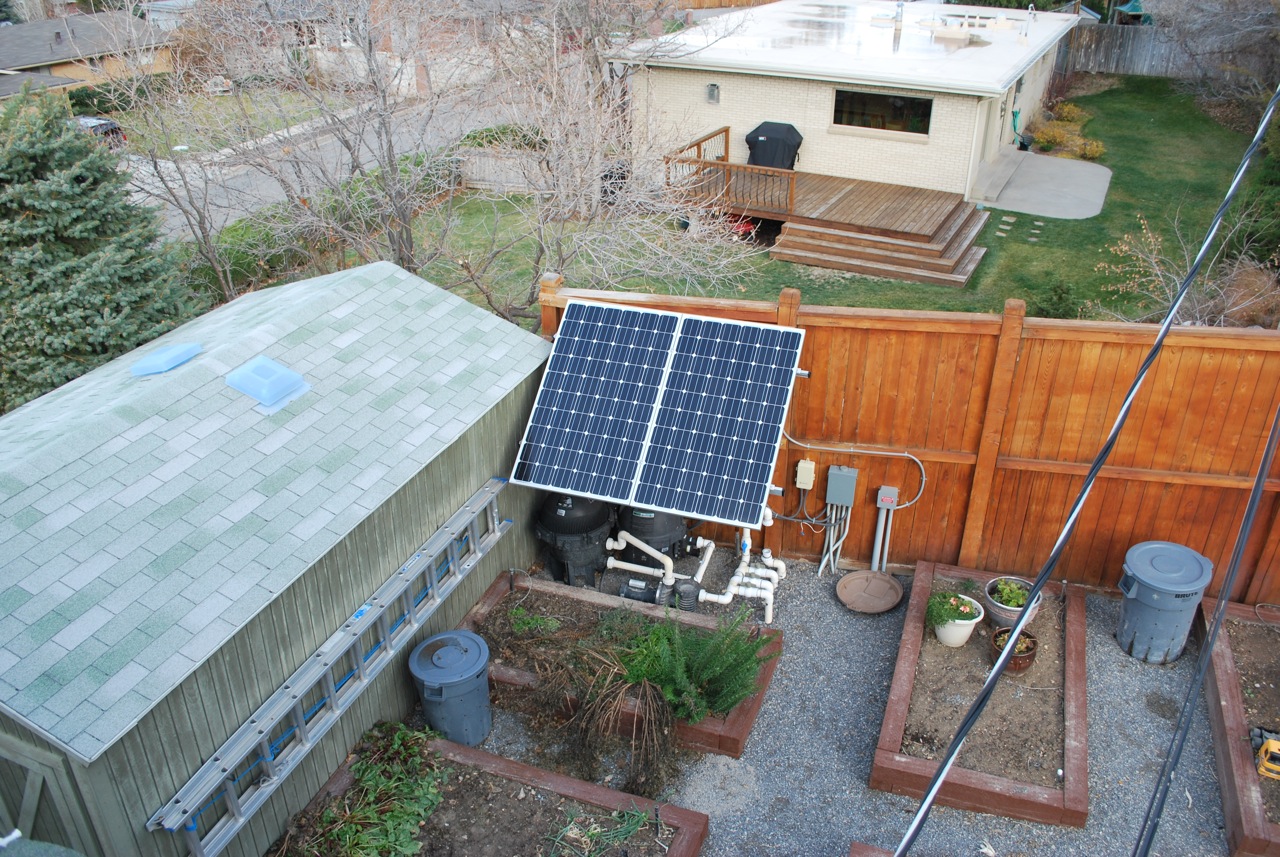
Two PV Panels Over the Pool Equipment
Photovoltaic Panels
I collect solar energy using ten Grape Solar GS-S-250-Fab5 250 watt PV panels purchased from Grape Solar through Costco. By buying the PV panels through Costco, we got one percent of their cost back on our Executive membership.
Microinverters
Each PV panel is wired to an Enphase M215 microinverter. These microinverters take the DC power generated by the PV panels to create pure sine wave, 240 volt split-phase AC power that is syncronized with the wave form being provided by the grid. Each inverter is rated at 215 watts, but when the PV panels and the microinverters are cool, they will typically generate 225 watts in full sun. Since the system is grid-tied, if it is producing more power than we are using, we sell power back into the grid. If not, the system reduces the amount of power we buy.
Two Enphase Microinverters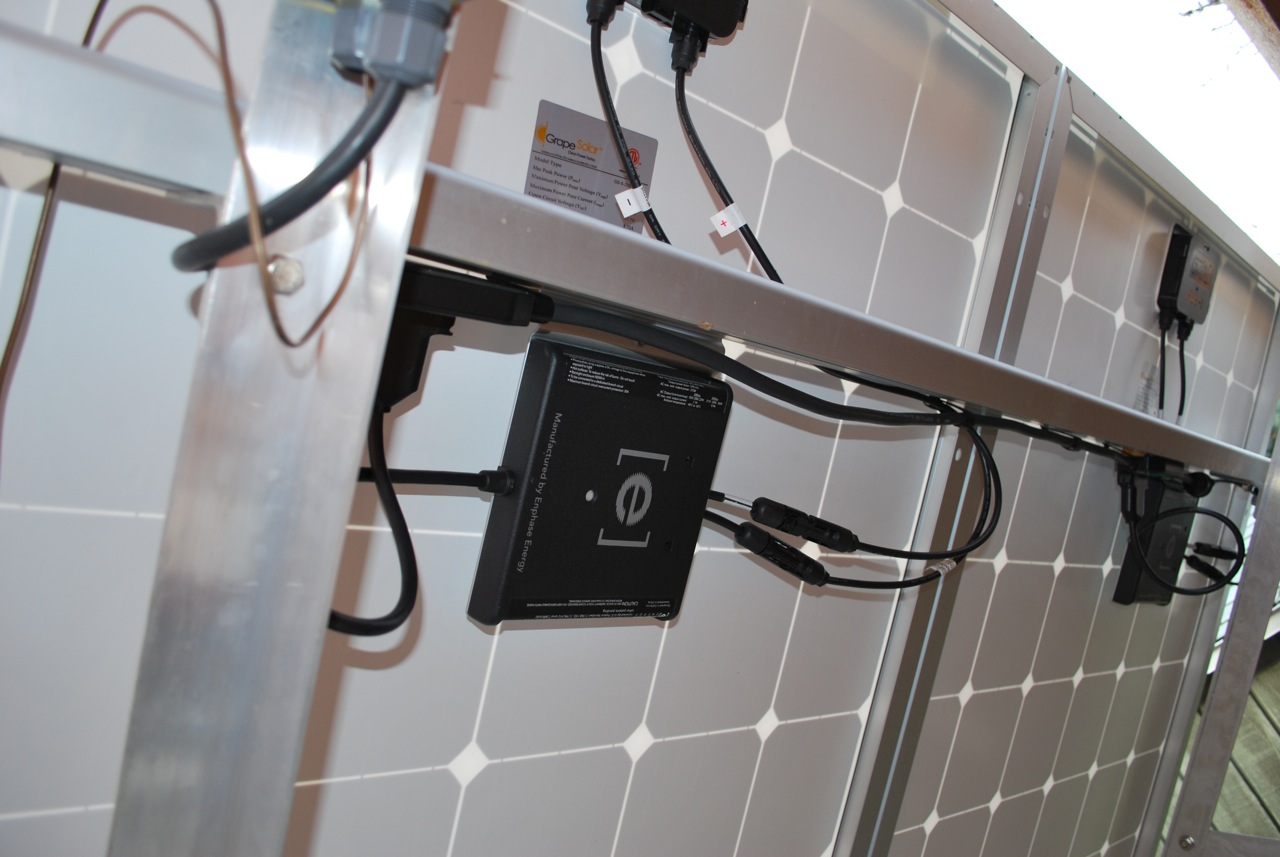
(Notice that the DC wiring from the PV panels connect directly to each microinverter and the microinverters plug into the Enphase trunk cable. The trunk cable is joined to standard 10-3 romex in a junction box. The wiring was very easy to do.)
PV Racks
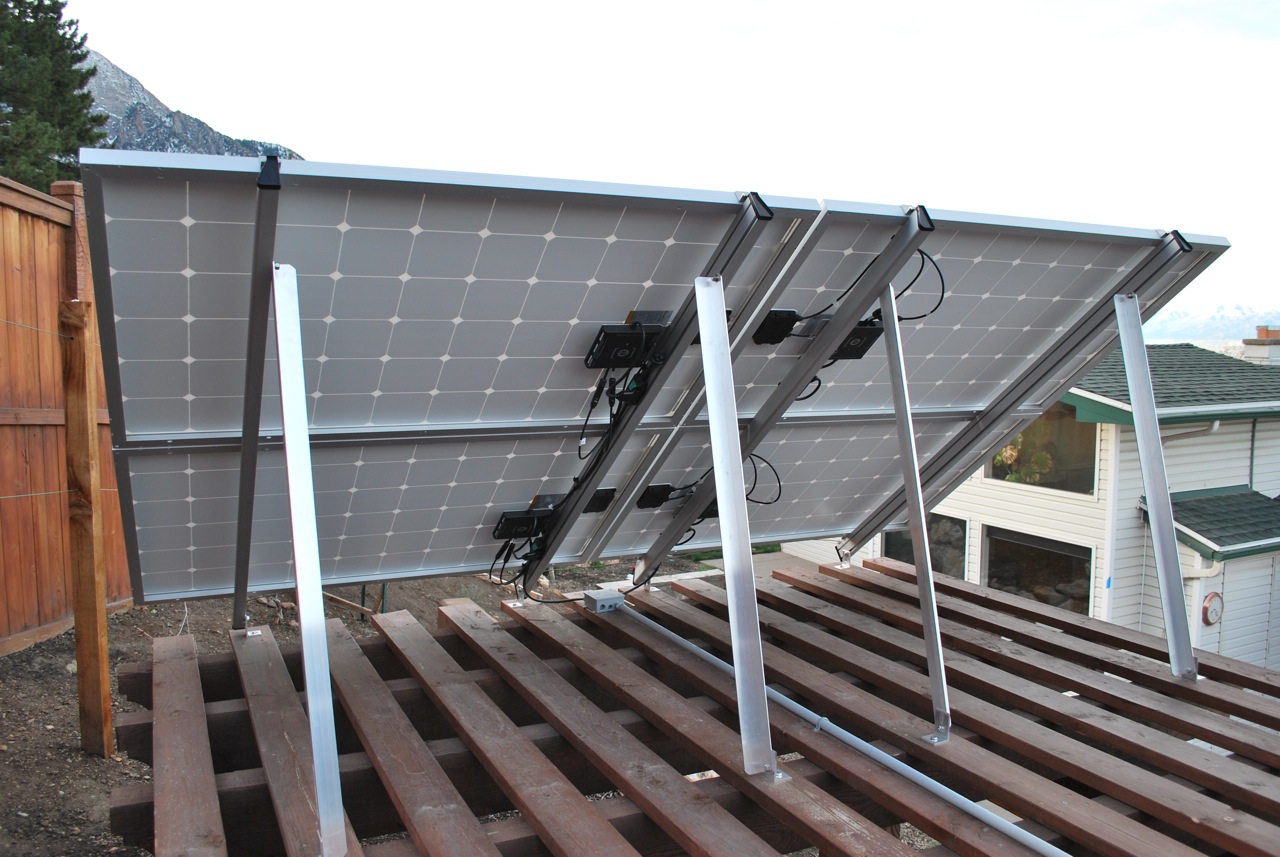
I wanted to mount the PV panels so that I could tilt them seasonally to optimize the power they generate. A great reference for calculating the appropriate tilt and days to change tilt is Optimum Tilt of Solar Panels. There are many different racking systems. I couldn't find one that fit my needs perfectly, so I started looking at the various components and designed a racking system based on IronRidge XRS rails and clamps. Home Depot sells 8 foot lengths of aluminum angle iron that are 2 inches on a side and 1/16 of an inch thick. For a racking system, it is heavy duty and strong. To best fit eight panels on the pergola, I needed to have four racks that hold two panels each. I mounted IronRidge L-feet to the pergola and bolted one end of the rails to the southern-most L-feet of each rack. I cut back legs from the aluminum angle iron at the appropriate lengths for optimum tilt (13 degrees in the summer, 38 degrees in the spring and fall, and 60 degrees in the winter). To change the tilt, I just have to swap out the back legs of the racks.
After a year's cycle of tilting the panels, I decided I had a design flaw. Each time the panels are tilted, it was a big effort to adjust the rack properly because there wasn't a pivot point at the lower ends of the rails. To fix this I built eight inch brackets that I bolted on to the lower ends of the rails. This creates a pivot point to rotate the racks around when changing the tilt.
New Bracket Bolted to the Lower End of the Rails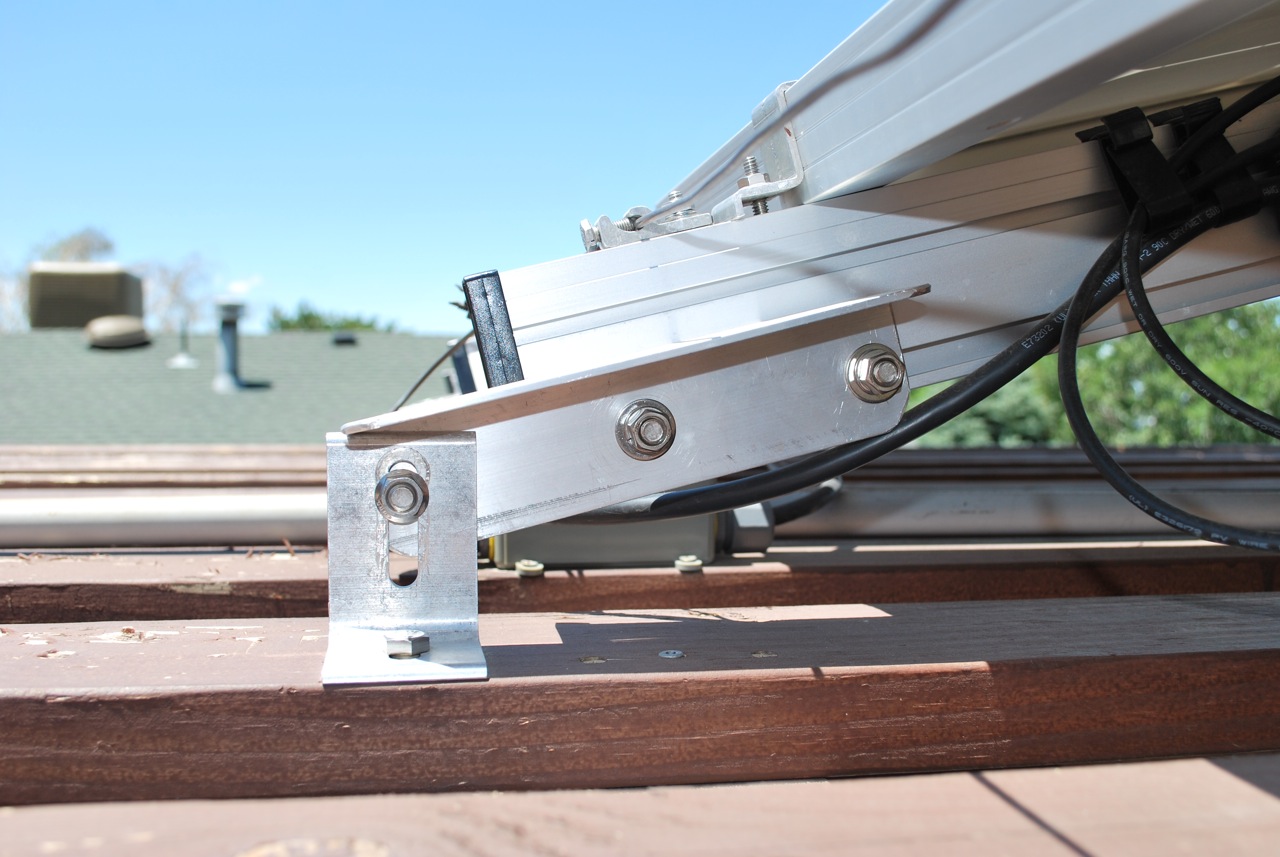
Photos
Four PV Panels on the North End of the Pergola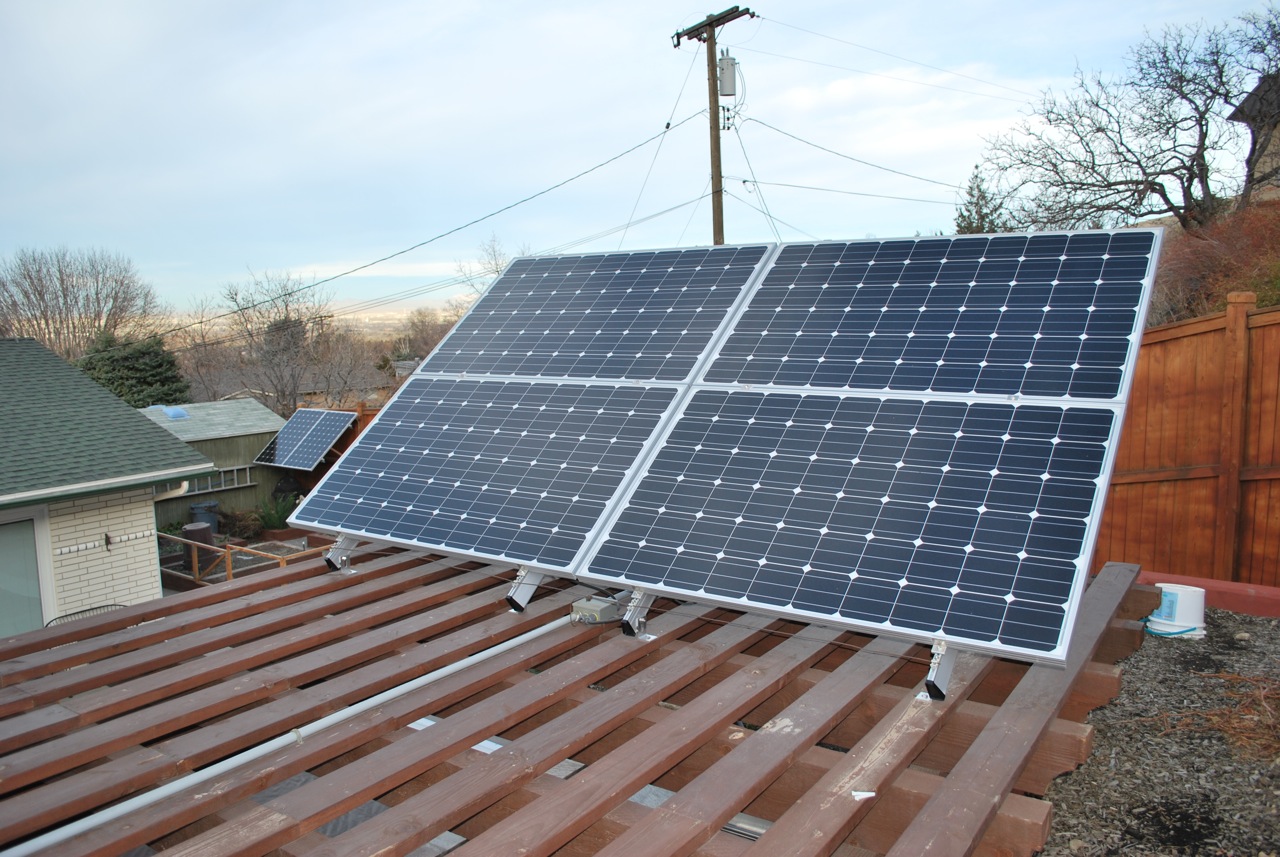
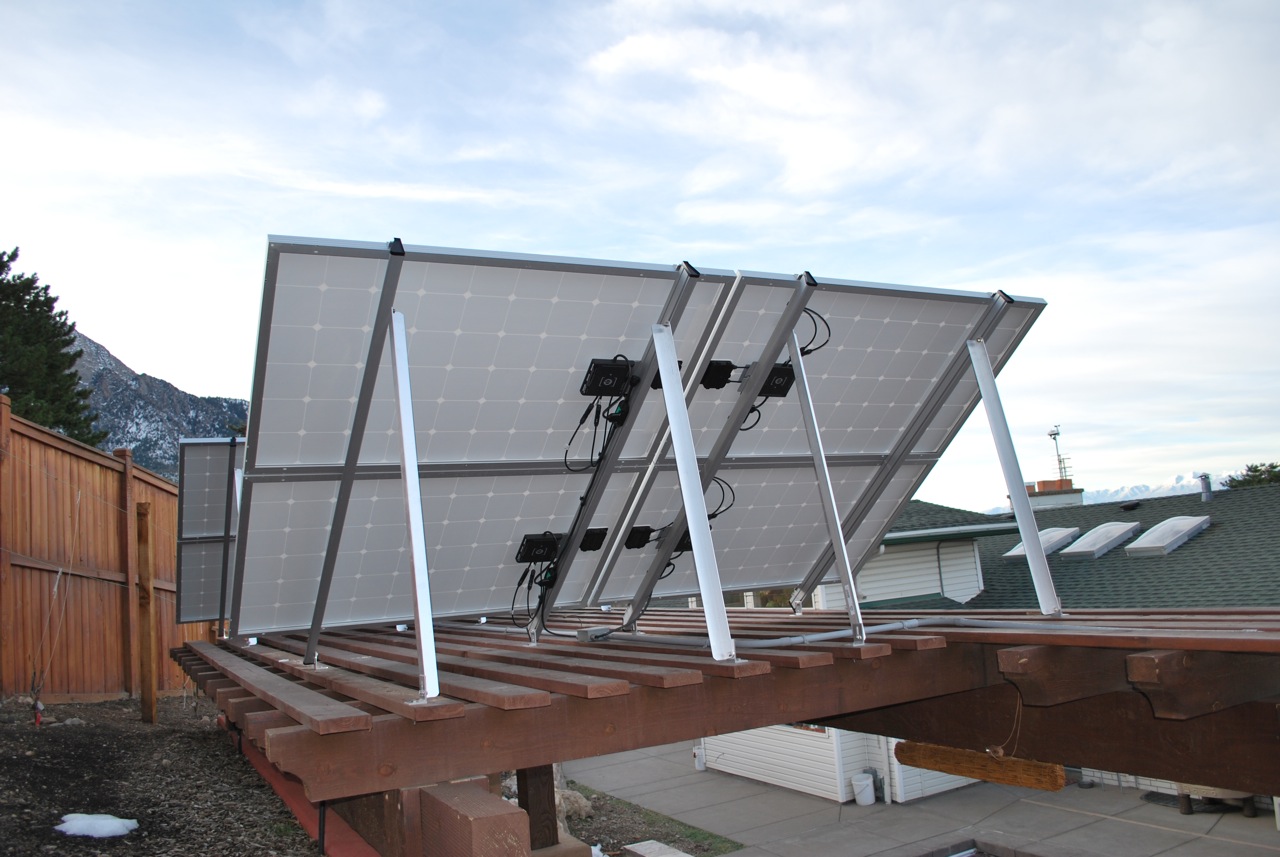
Microinverters and Racking for the North Set of PV Panels on the Pergola (Panels are in Fall/Spring Tilt)
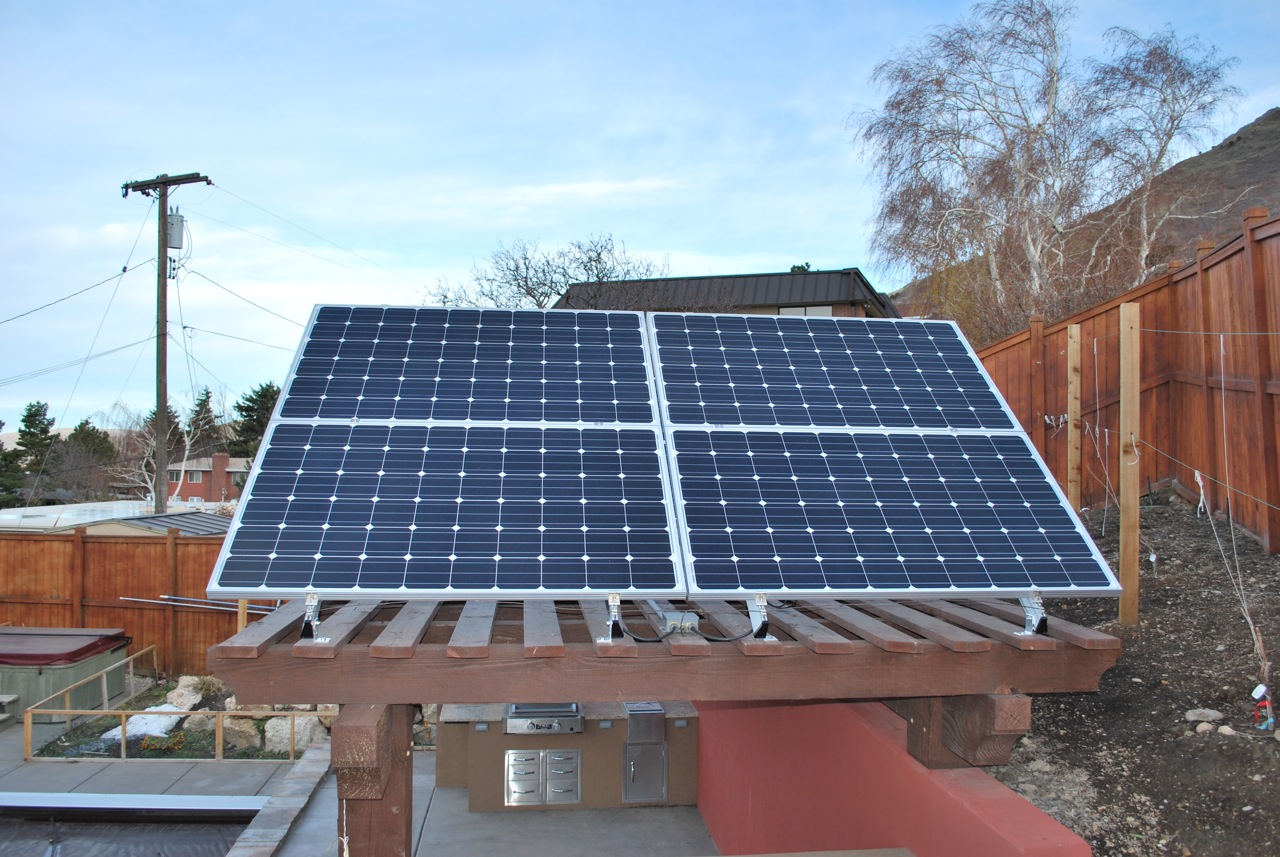
Four PV Panels on the South End of the Pergola
Microinverters and Racking for the South Set of PV Panels on the Pergola (Panels are in Fall/Spring Tilt)
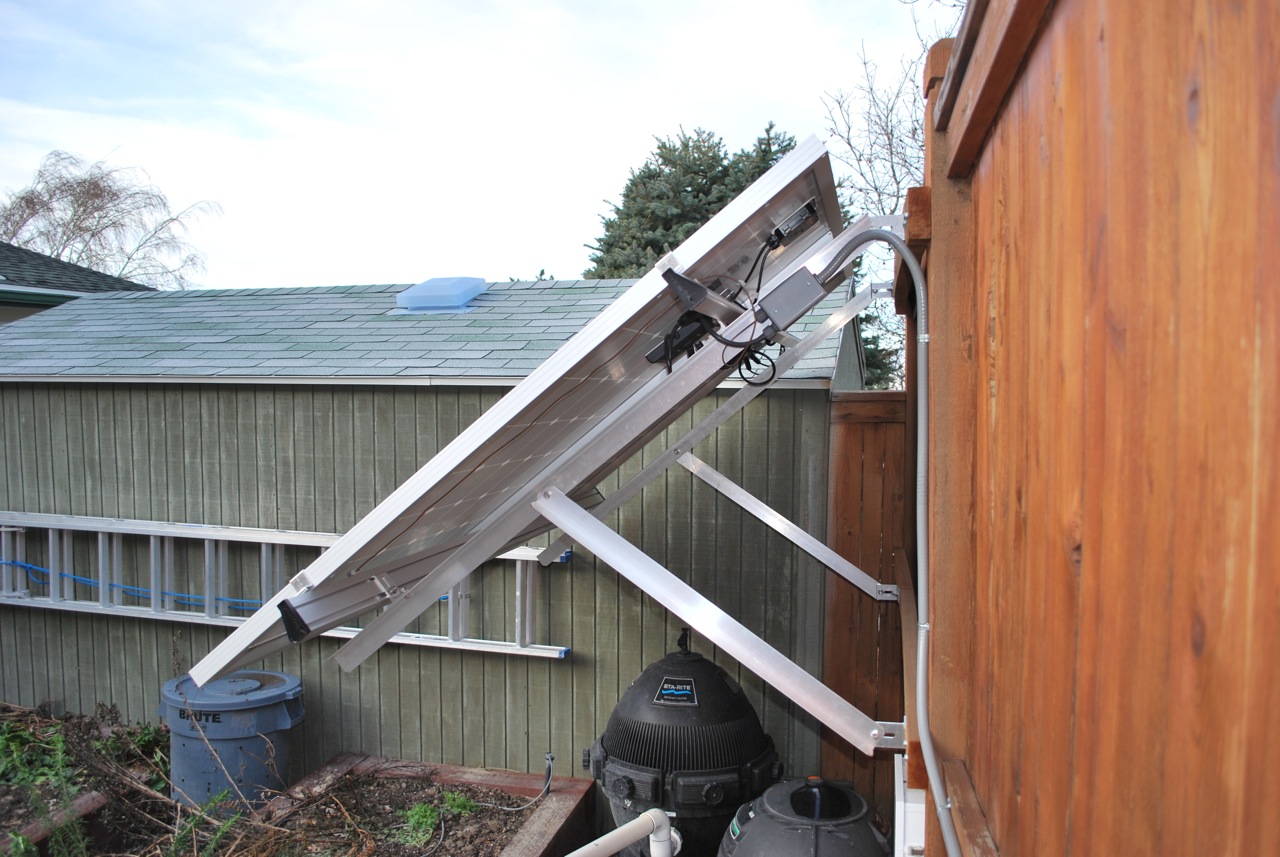
Two PV Panels over the Pool Equipment
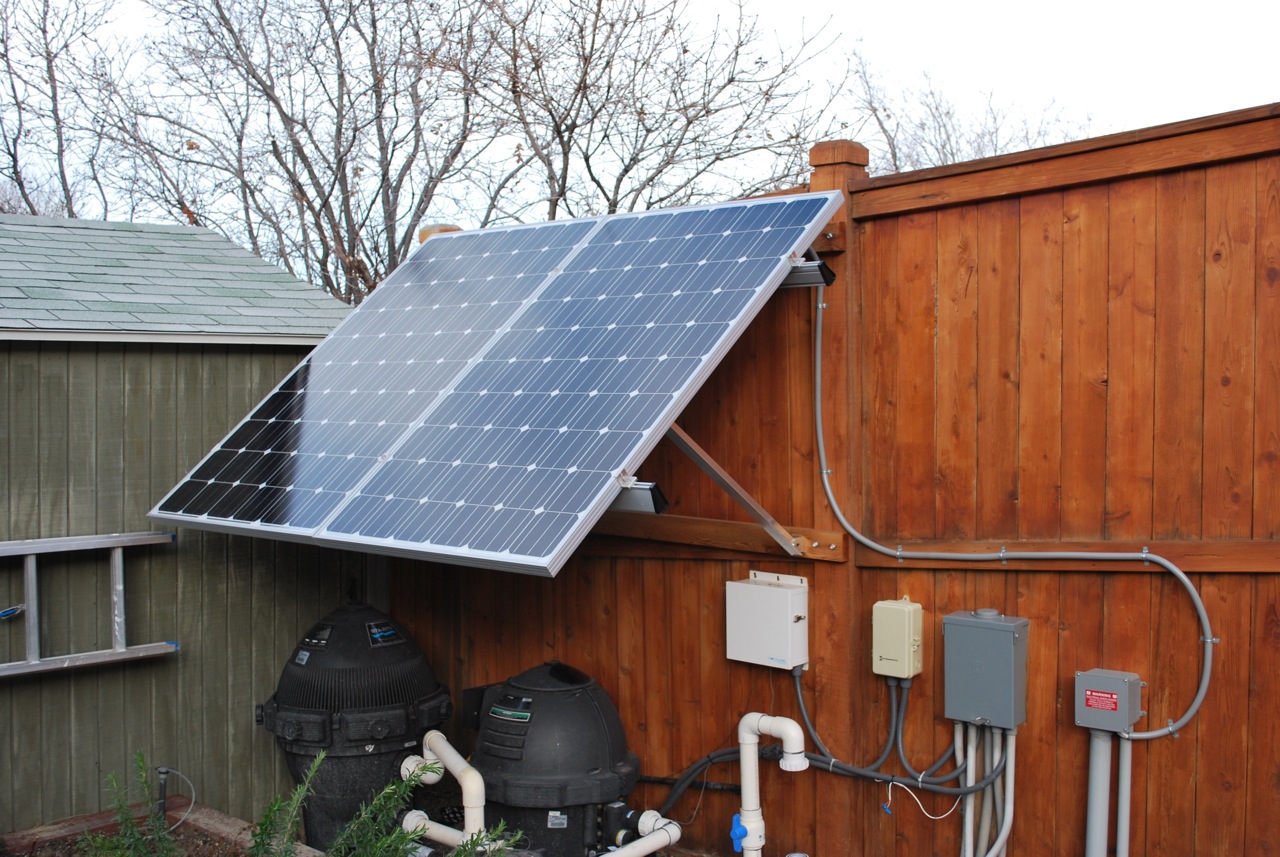
Racking for the PV Panels over the Pool Equipment
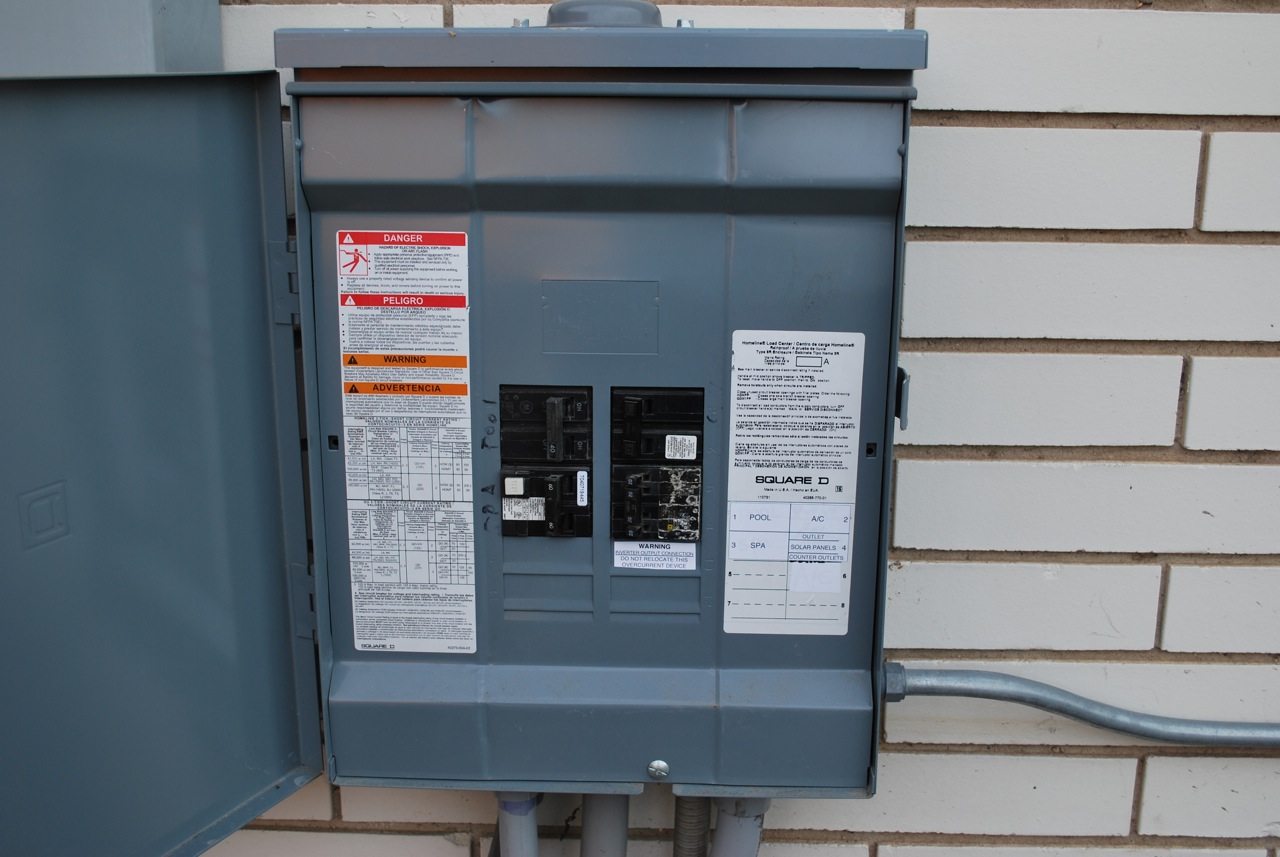
New Net Metering Meter and Breaker Box with Warning Labels
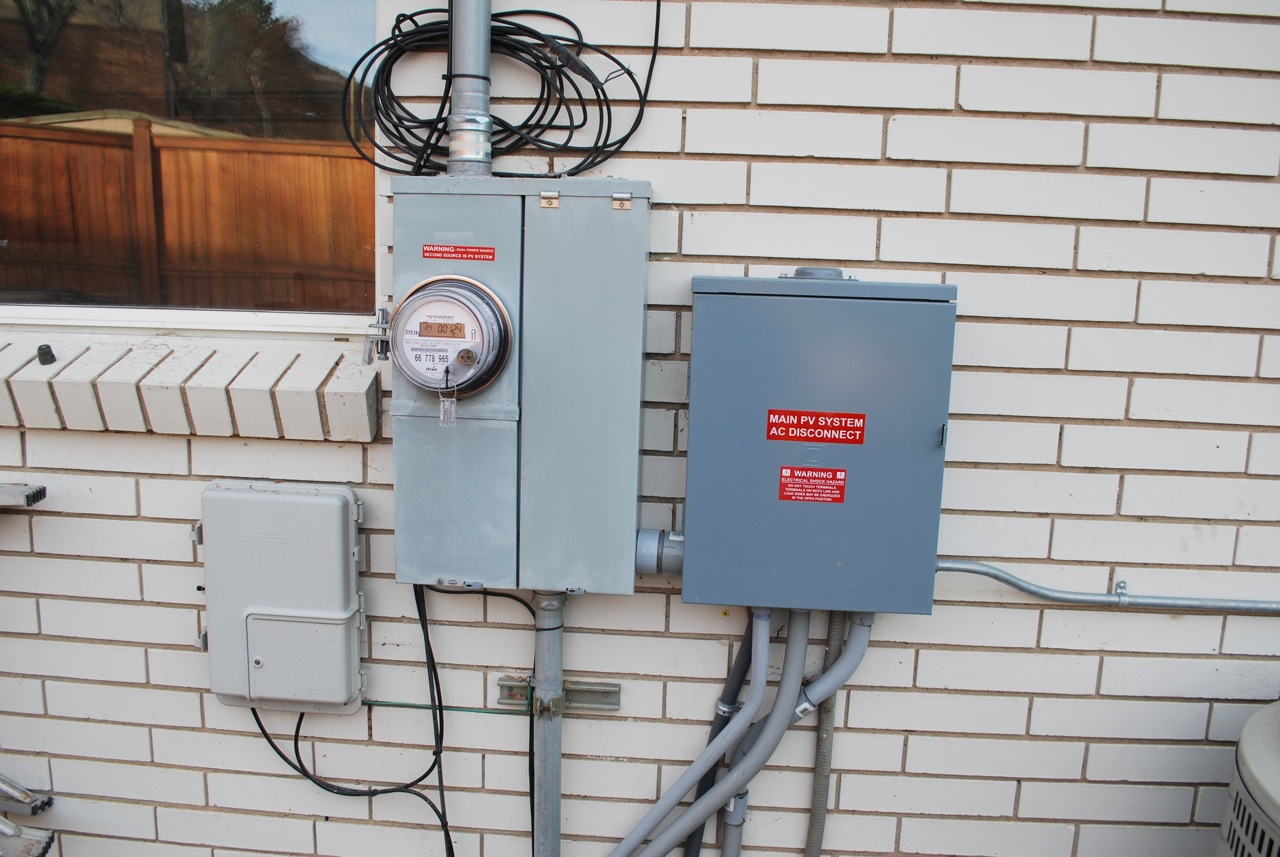
Breaker Box (the system only needs a 20 amp two-pole breaker)
One year anniversary of the system with the panels in their summer tilt. We generated about 3.5MWh in the first year.